A complete cleaning must be carried out weekly. For this, I refer to the following excerpts from the equipment manual. Why should I rewrite hygiene instructions when they already exist? ?
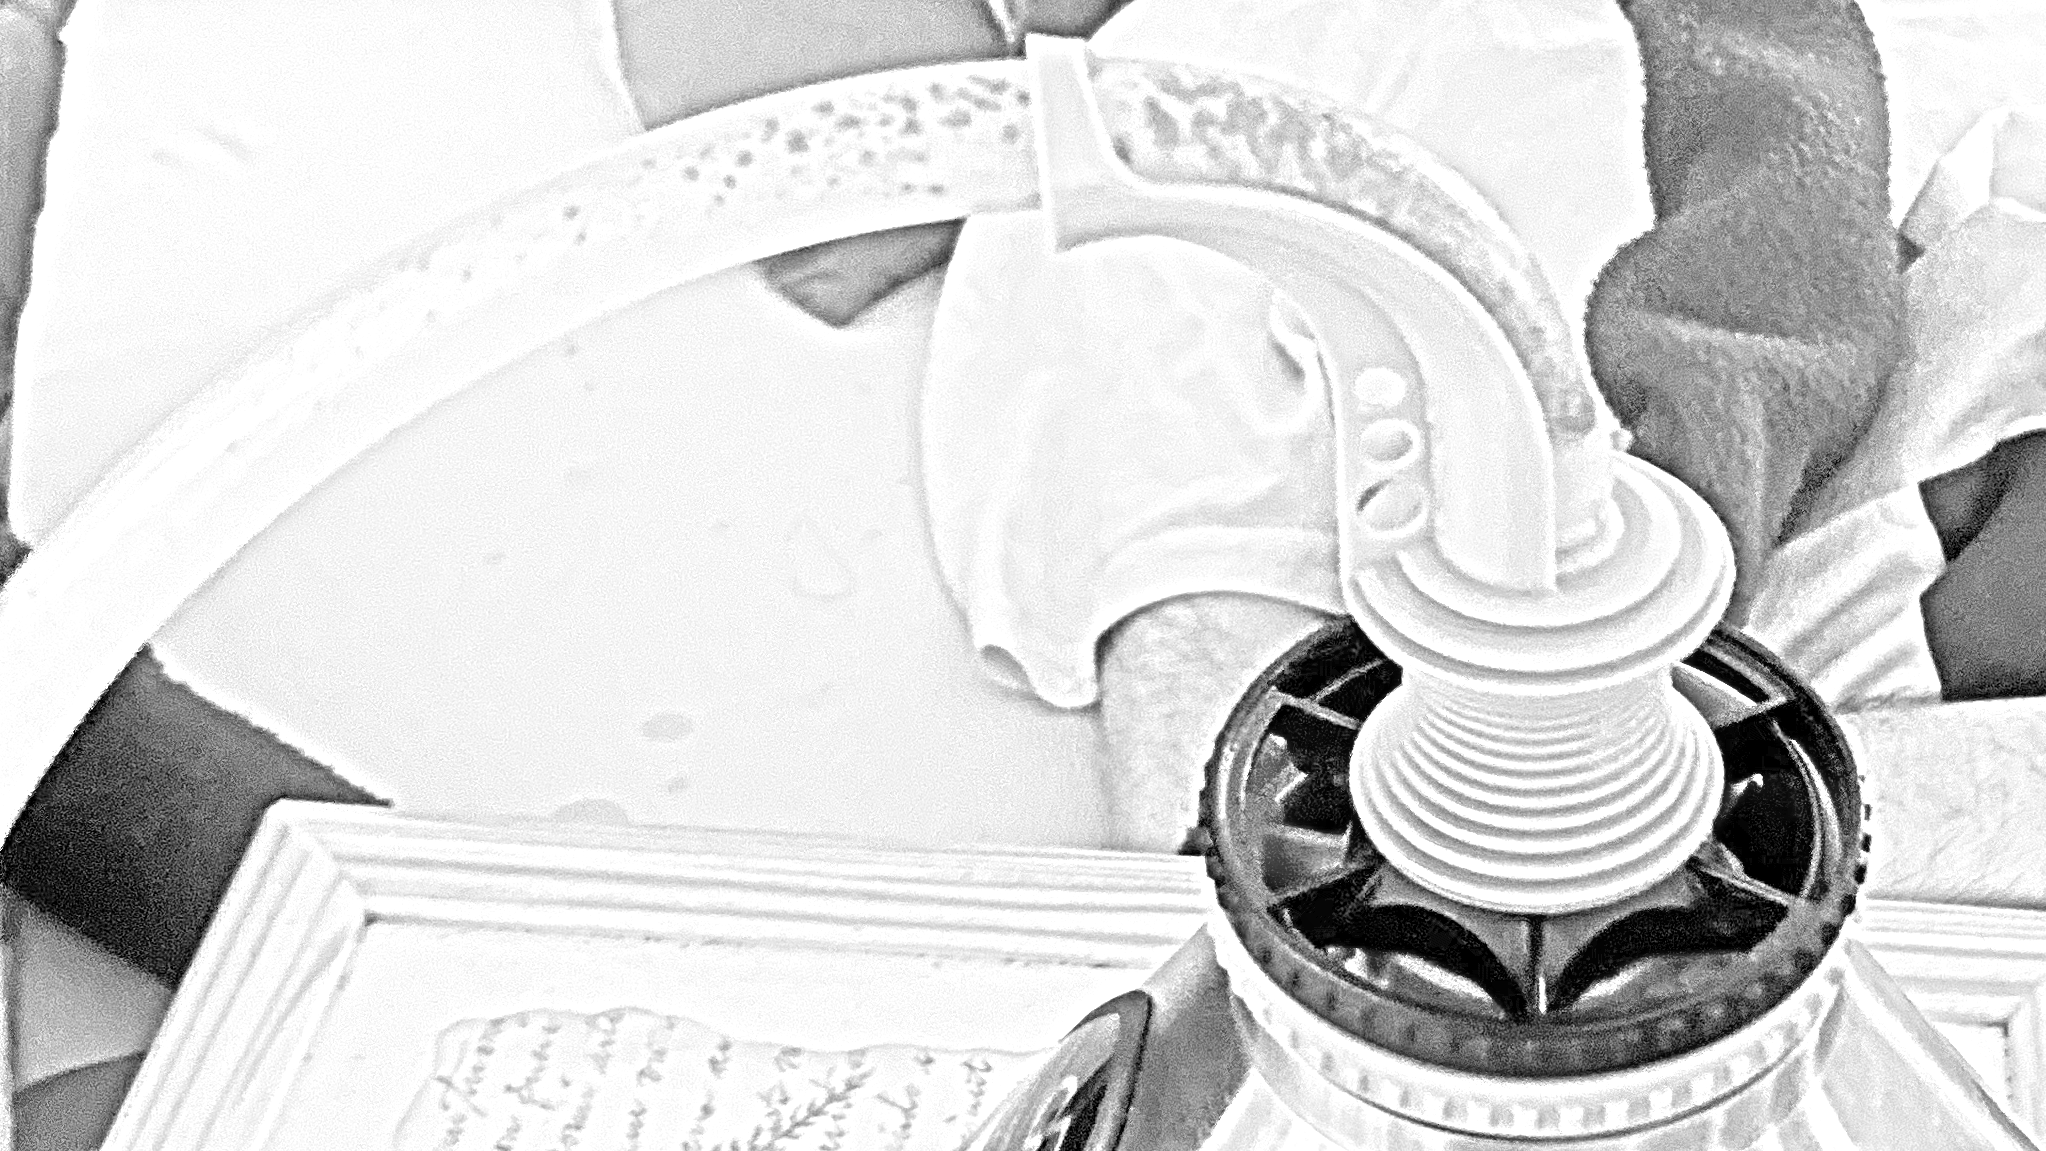
Cleaning the filling chamber
If necessary, clean your sink and the surrounding area.
Disassemble the filling chamber. Remove stubborn deposits of active ingredient inside the filling chamber and lid cylinder (with ethyl alcohol if necessary). Then place all the individual parts of the filling chamber for at least 5 minutes in a rinsing agent bath that is warm to the touch (40 - 50°C) (commercially available household rinsing agent (with as few caring additives as possible), dosage according to manufacturer's instructions, avoid excessive foaming) and make sure that all parts are completely covered and filled (no more air bubbles).
Only use a soft brush (bottle brush) or a clean soft cloth for manual removal of contamination, which you only use for this purpose, but never metal brushes or steel wool. There must be no visible dirt left on the parts. Then remove the parts from the detergent bath and rinse them under running water for at least 1 minute.
Allow the liquid contained to drain completely and shake any residual water out of/off the parts. Avoid contact with less clean surfaces, especially the floor.
![]() Do not immerse plastic parts in alcohol or spirit for longer than one hour. Prolonged contact with alcohol or spirit can lead to colour changes or embrittlement of the plastic parts.
Do not immerse plastic parts in alcohol or spirit for longer than one hour. Prolonged contact with alcohol or spirit can lead to colour changes or embrittlement of the plastic parts.
Remark: In the presence of very hard tap water and the resulting formation of a white haze on the surface of the parts, more frequent replacement of the filling chamber is recommended.
Possible alternative: The parts of the filling chamber can also be cleaned in the dishwasher using a standard household dishwasher detergent.
![]() Place the individual parts of the filling chamber in a suitable place in the dishwasher. Small parts (e.g. filling chamber clips) can be lost or damage the dishwasher if the dishwasher is loaded insecurely! If in doubt, do not clean the small parts of the filling chamber (filling chamber clips, sieves) in the dishwasher.
Place the individual parts of the filling chamber in a suitable place in the dishwasher. Small parts (e.g. filling chamber clips) can be lost or damage the dishwasher if the dishwasher is loaded insecurely! If in doubt, do not clean the small parts of the filling chamber (filling chamber clips, sieves) in the dishwasher.
Check / maintenance of the filling chamber
After cleaning, check all individual parts of the filling chamber for damaged surfaces, cracking, softening or hardening, soiling, discolouration, excessive limescale and replace a damaged filling chamber.
Then put the filling chamber back together.
Reusability of the filling chamber
The filling chamber (incl. sieves and drip pads) is intended for multiple use. Hygienic reprocessing of the filling chamber is not necessary.
The filling chamber must be cleaned:
- in case of active substance deposits (condensate) on the inner parts of the filling chamber,
- when using a new valve balloon with mouthpiece,
- in the event of a change of patient.
Check the filling chamber for damage and signs of wear before each use (see information on "Checking/maintenance of the filling chamber", on this page). A defective filling chamber or filling chamber parts must be replaced immediately.
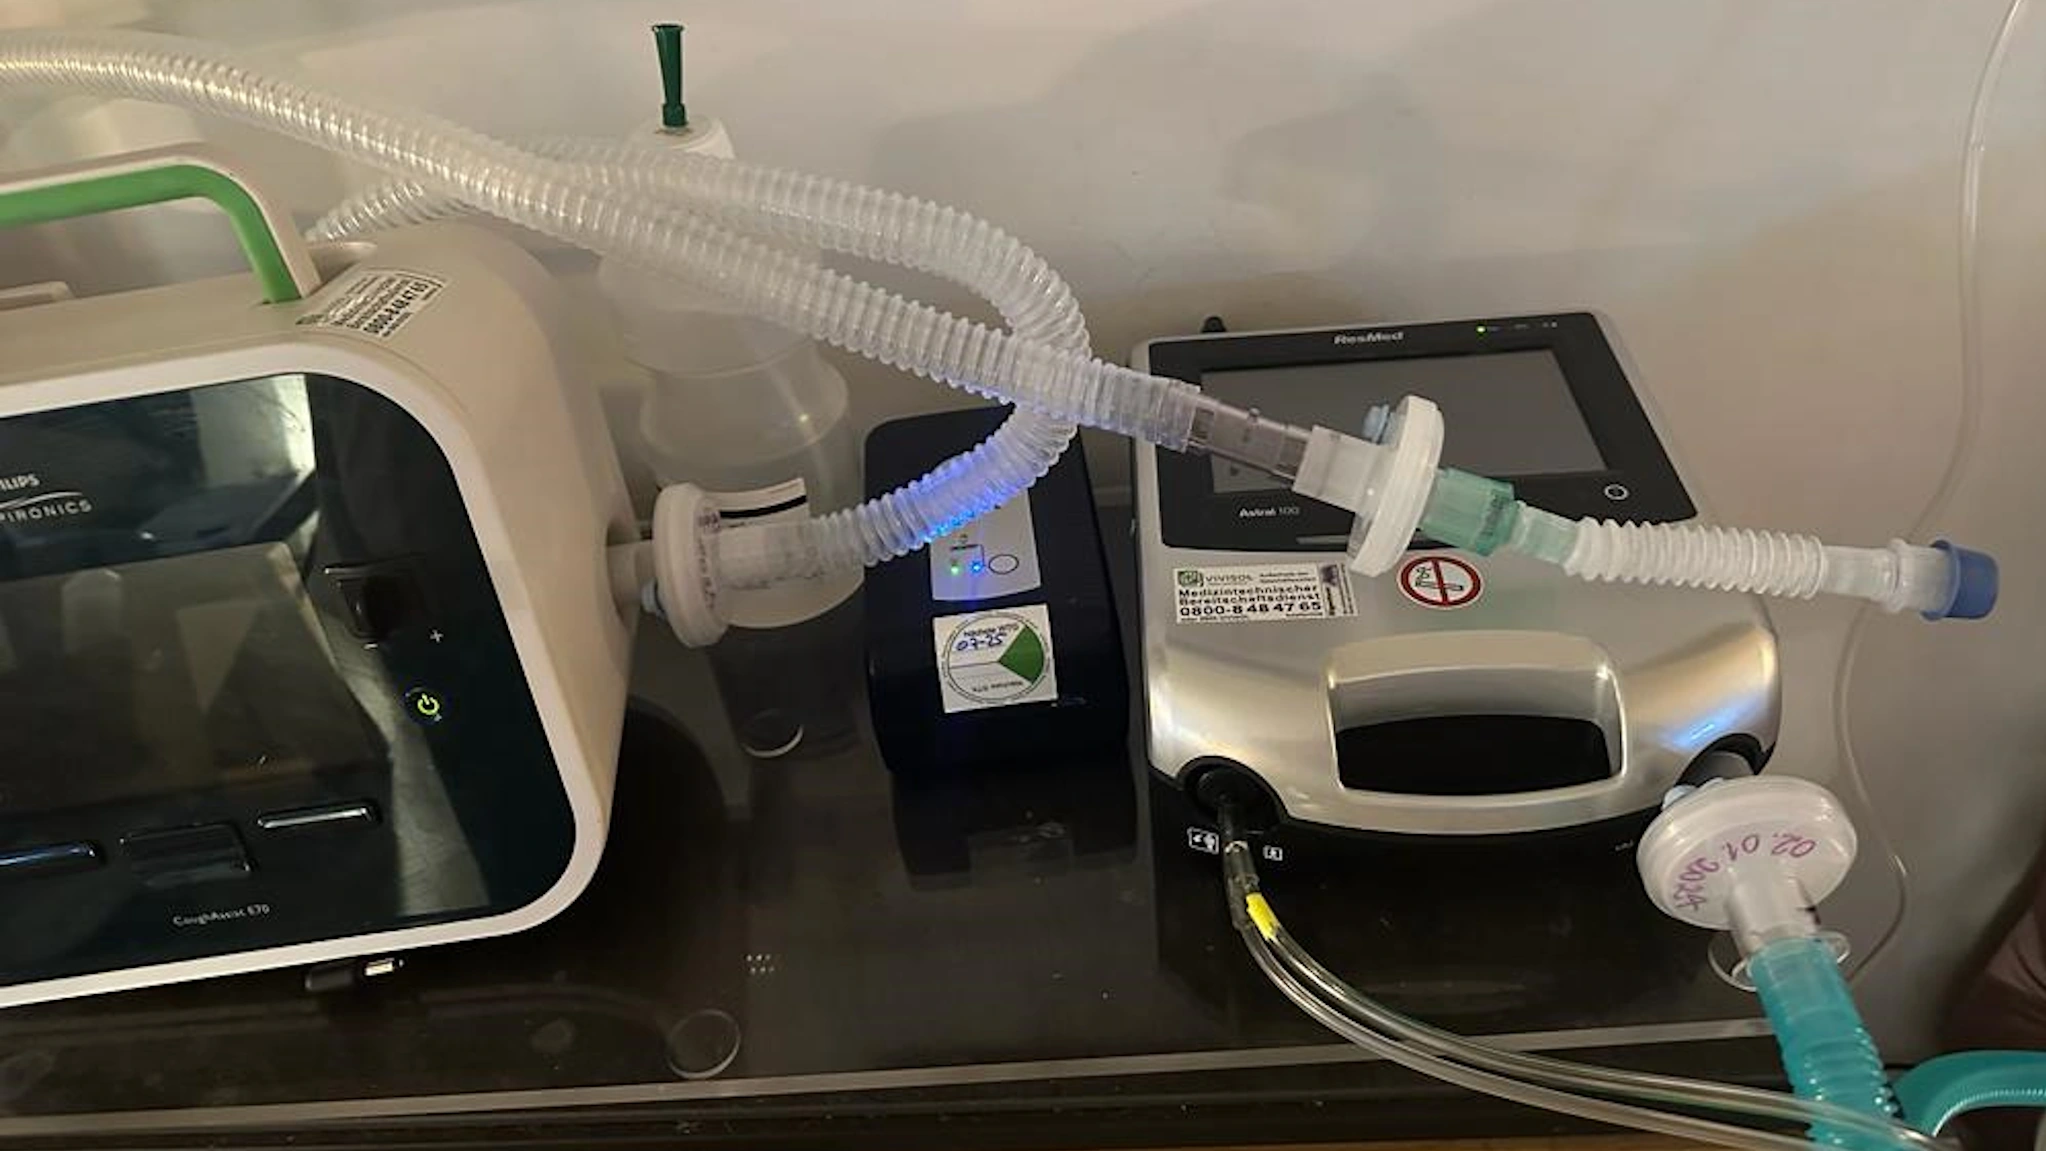
Cleaning the hot air generator
Before carrying out any maintenance work, switch off the unit and disconnect the mains plug.
For use at home, it is sufficient to clean the housing of the hot air generator with a damp cloth. Do not hold the appliance under running water.
Only use a clean soft cloth for wiping or wiping off. The cloth must only be damp, never wet. Avoid liquids entering the hot air generator. Liquids entering the hot air generator can damage the electrical parts and cause malfunctions.
Should liquid nevertheless get into the hot air generator, please contact our Service Centre immediately.
Reusability of the valve balloon or hose
Valve balloon or hose are intended for multiple use without special cleaning. In principle, they may only be used by one person and up to a maximum of 70 applications and a maximum of 14 days from the first use. After that, a new valve balloon with mouthpiece or a new tube with mouthpiece must be used. In case of heavy soiling, the valve balloon or hose must be replaced earlier.
![]() To avoid confusion, label the valve balloon or tube unit with the
To avoid confusion, label the valve balloon or tube unit with the the patient's name and the date of first use. To do this, label the valve balloon or tube unit directly with a felt-tip pen (permanent).
Before each vaporisation, check from the outside whether there is moisture (moisture precipitation) in the valve balloon or hose. If moisture is detected in the valve balloon or hose or damage to the valve or hose, the valve balloon or hose must no longer be used and must be disposed of with household waste!